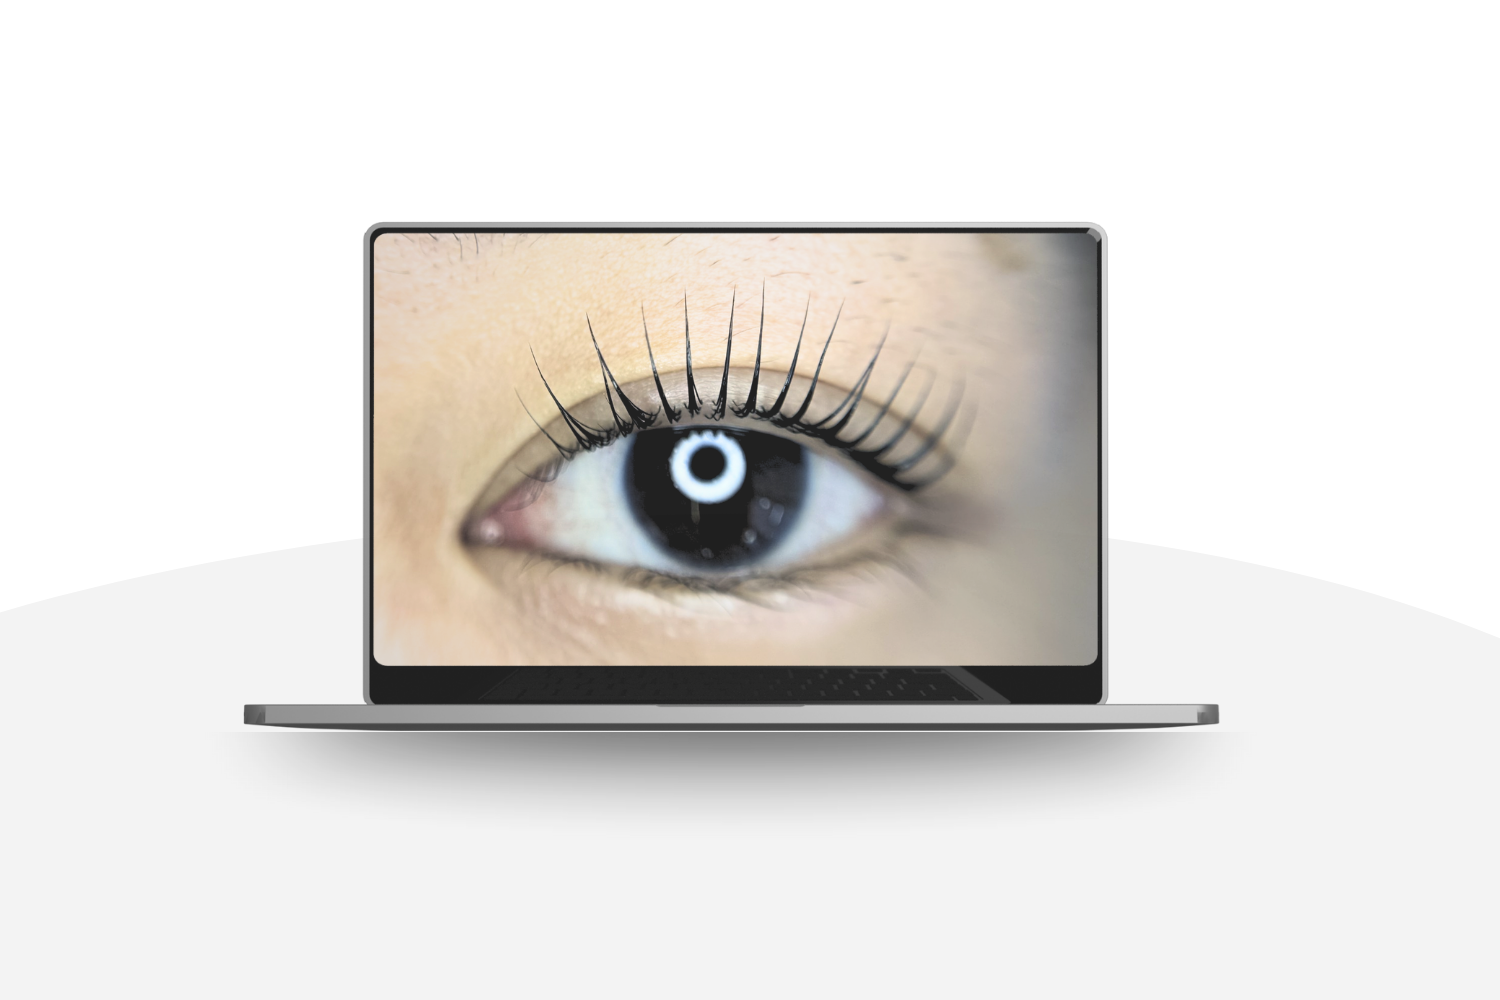
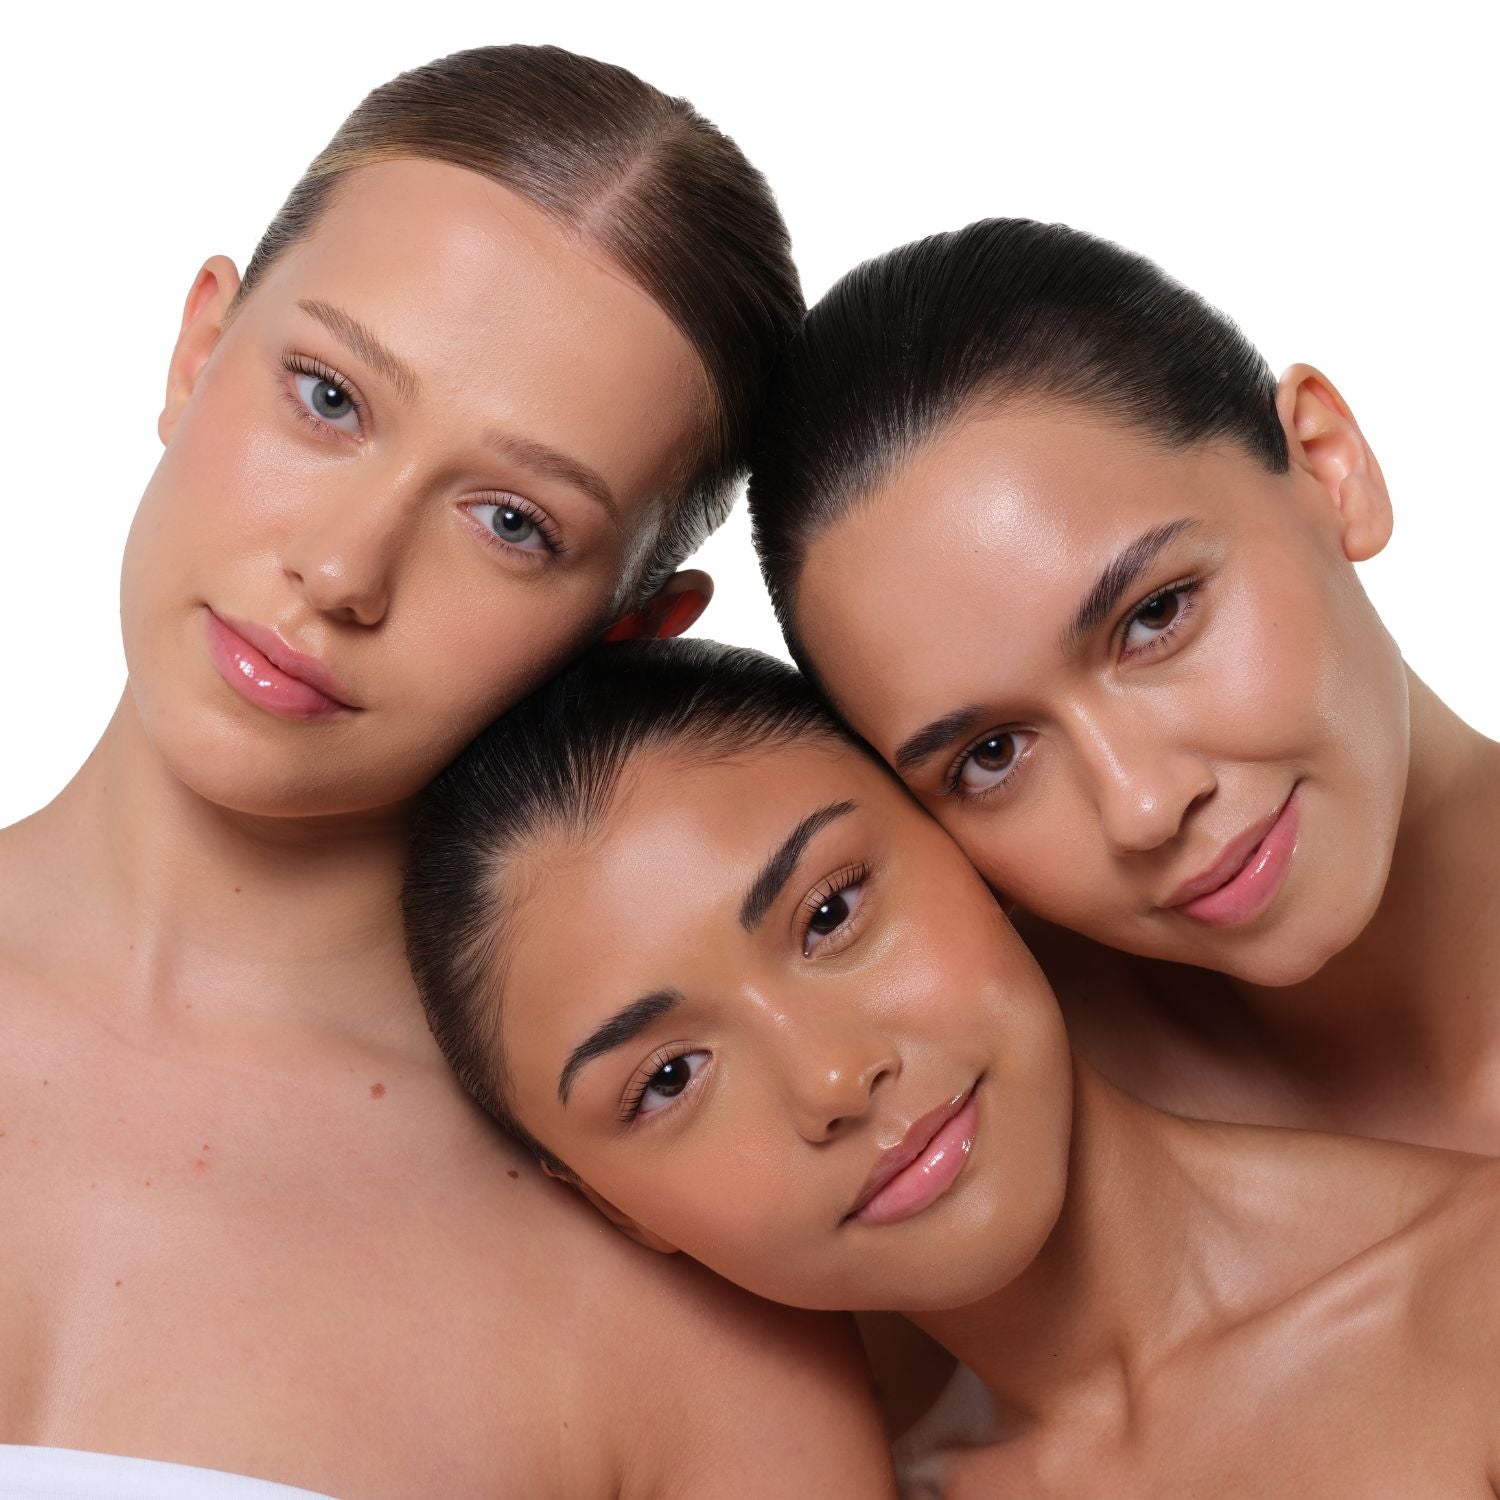
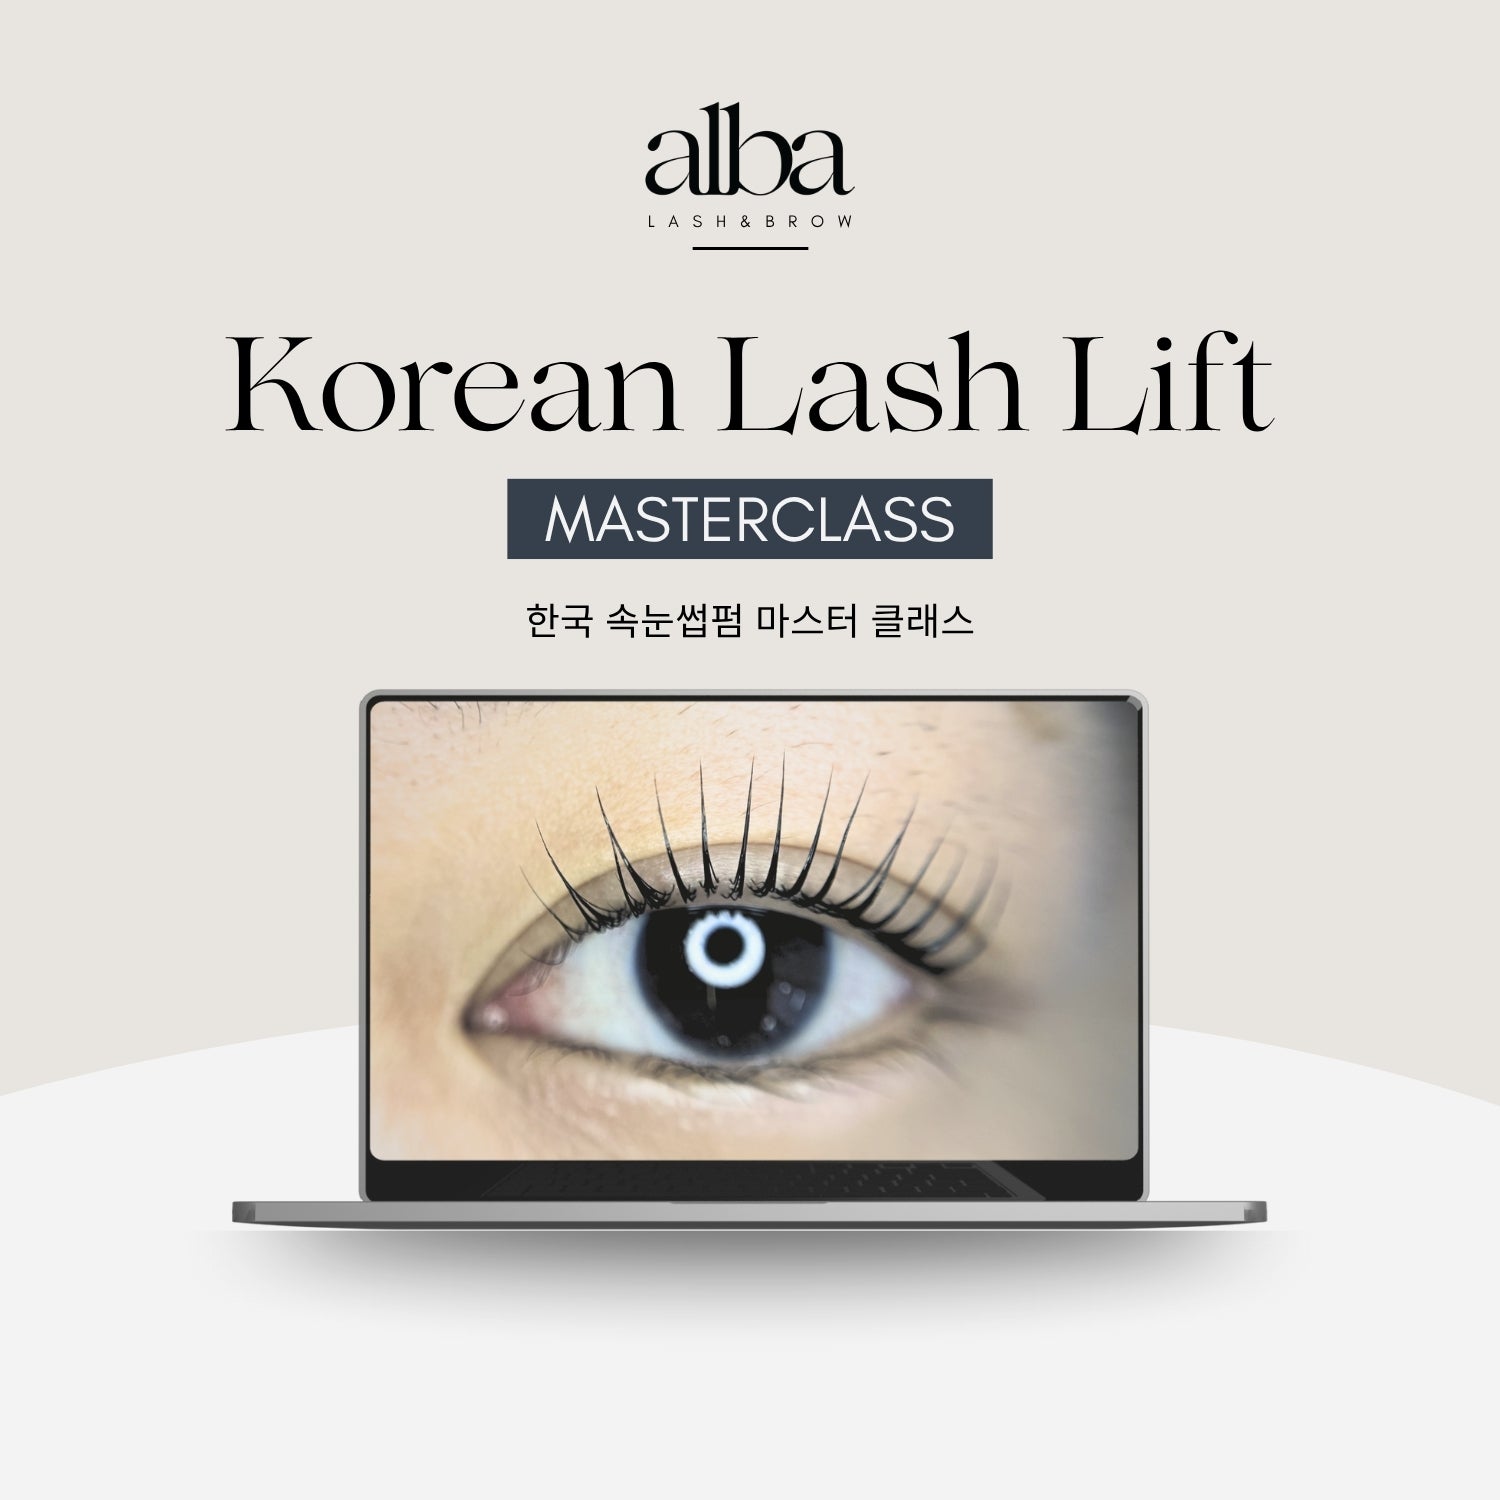
Korean Lash Lift Range
The Korean Lash Lift has officially gone viral – everyone’s talking about it and lash artists around the world are obsessed with the results. And we’ve made it super easy for you to jump in too! From our free Korean Lash Lift Masterclass to every single product you need for the full treatment, it’s all right here in one place.
47 products
-

 Korean Lash Lift MasterclassKorean Lash Lift Masterclass
- Regular price
-
$0.00 USD - Regular price
-
$0.00 USD - Sale price
-
$0.00 USD
-

 Korean Lash Lift Complete Kit | AlbaKorean Lash Lift Complete Kit | Alba
- Regular price
-
$150.00 USD - Regular price
-
$250.00 USD - Sale price
-
$150.00 USD
-

 Brow Lamination Complete Kit | AlbaBrow Lamination Complete Kit | Alba
- Regular price
-
From
$135.00 USD - Regular price
-
$174.00 USD - Sale price
-
From
$135.00 USD
-

 Re;Set Lash Lift & Brow Lamination Set | AlbaRe;Set Lash Lift & Brow Lamination Set | Alba
- Regular price
-
From
$60.00 USD - Regular price
-
$76.00 USD - Sale price
-
From
$60.00 USD
-

 Silk Protein Aftercare Serum | AlbaSilk Protein Aftercare Serum | Alba
- Regular price
-
$1.00 USD $26.00 USD - Regular price
-
- Sale price
-
$1.00 USD $26.00 USD
-

 Re;Lax Step 1 Lash Lift & Brow Lamination | AlbaRe;Lax Step 1 Lash Lift & Brow Lamination | Alba
- Regular price
-
$30.00 USD - Regular price
-
- Sale price
-
$30.00 USD
-

 Re;Form Step 2 Lash Lift & Brow Lamination | AlbaRe;Form Step 2 Lash Lift & Brow Lamination | Alba
- Regular price
-
$30.00 USD - Regular price
-
- Sale price
-
$30.00 USD
-

 Re;Vive – Hydration & pH-Balancing Cream | AlbaRe;Vive – Hydration & pH-Balancing Cream | Alba
- Regular price
-
$30.00 USD - Regular price
-
- Sale price
-
$30.00 USD
-

 Re;Fine – Viscosity Modifying Gel | AlbaRe;Fine – Viscosity Modifying Gel | Alba
- Regular price
-
$26.00 USD - Regular price
-
- Sale price
-
$26.00 USD
-

 Viscosity Modifying Powder | Alba Lash LiftViscosity Modifying Powder | Alba Lash Lift
- Regular price
-
$22.00 USD - Regular price
-
- Sale price
-
$22.00 USD
-
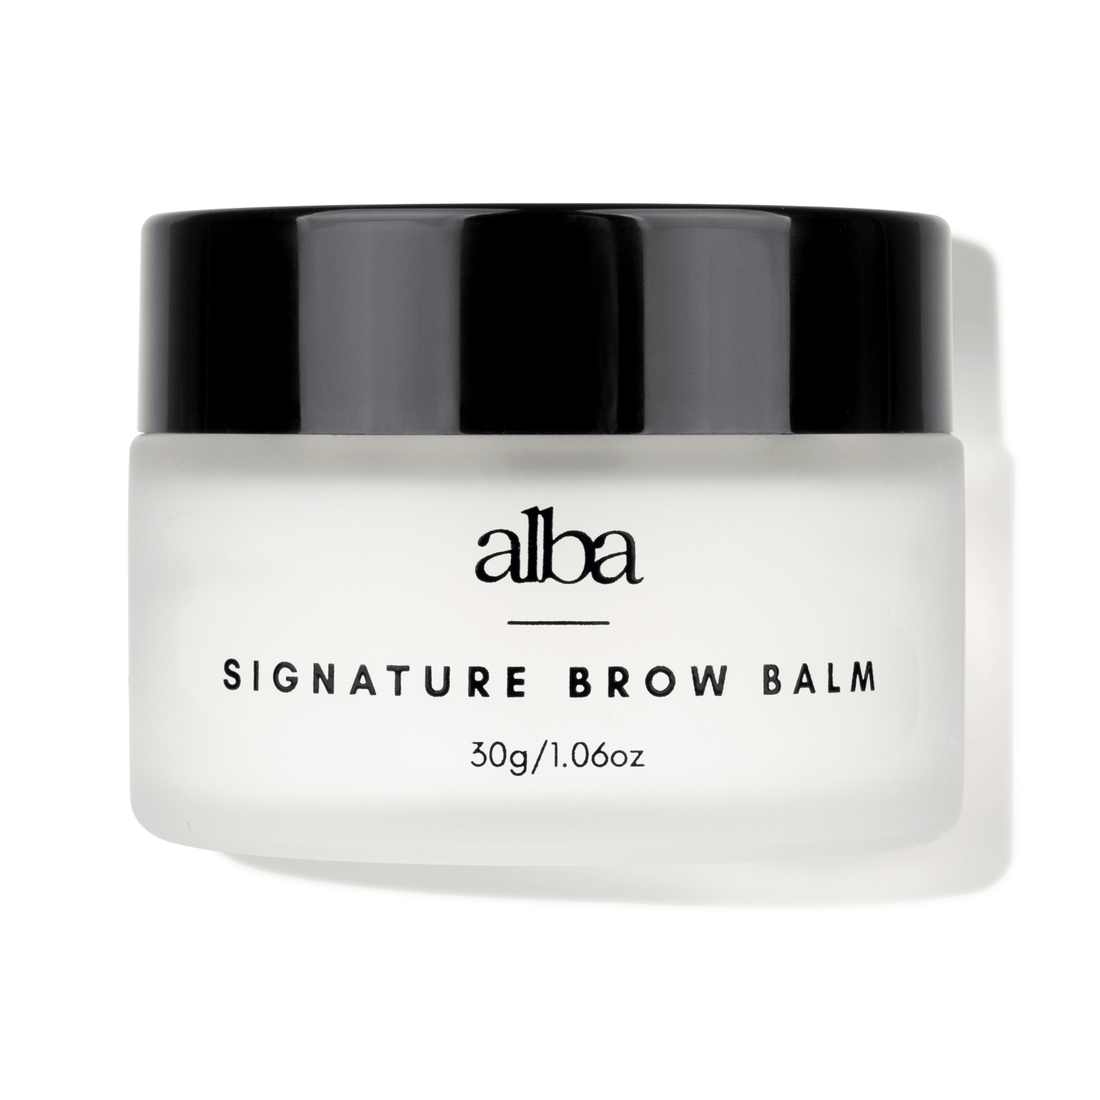
 Signature Brow Balm | AlbaSignature Brow Balm | Alba
- Regular price
-
$58.00 USD - Regular price
-
- Sale price
-
$58.00 USD
-

 Sensitive Silicone Lash Tape for Eyelash ExtensionSensitive Silicone Lash Tape for Eyelash Extension
- Regular price
-
$5.00 USD - Regular price
-
- Sale price
-
$5.00 USD
-
 UltraGrip Reusable Eye Pads 2 Pairs | AlbaUltraGrip Reusable Eye Pads 2 Pairs | Alba
- Regular price
-
$15.00 USD - Regular price
-
- Sale price
-
$15.00 USD
-
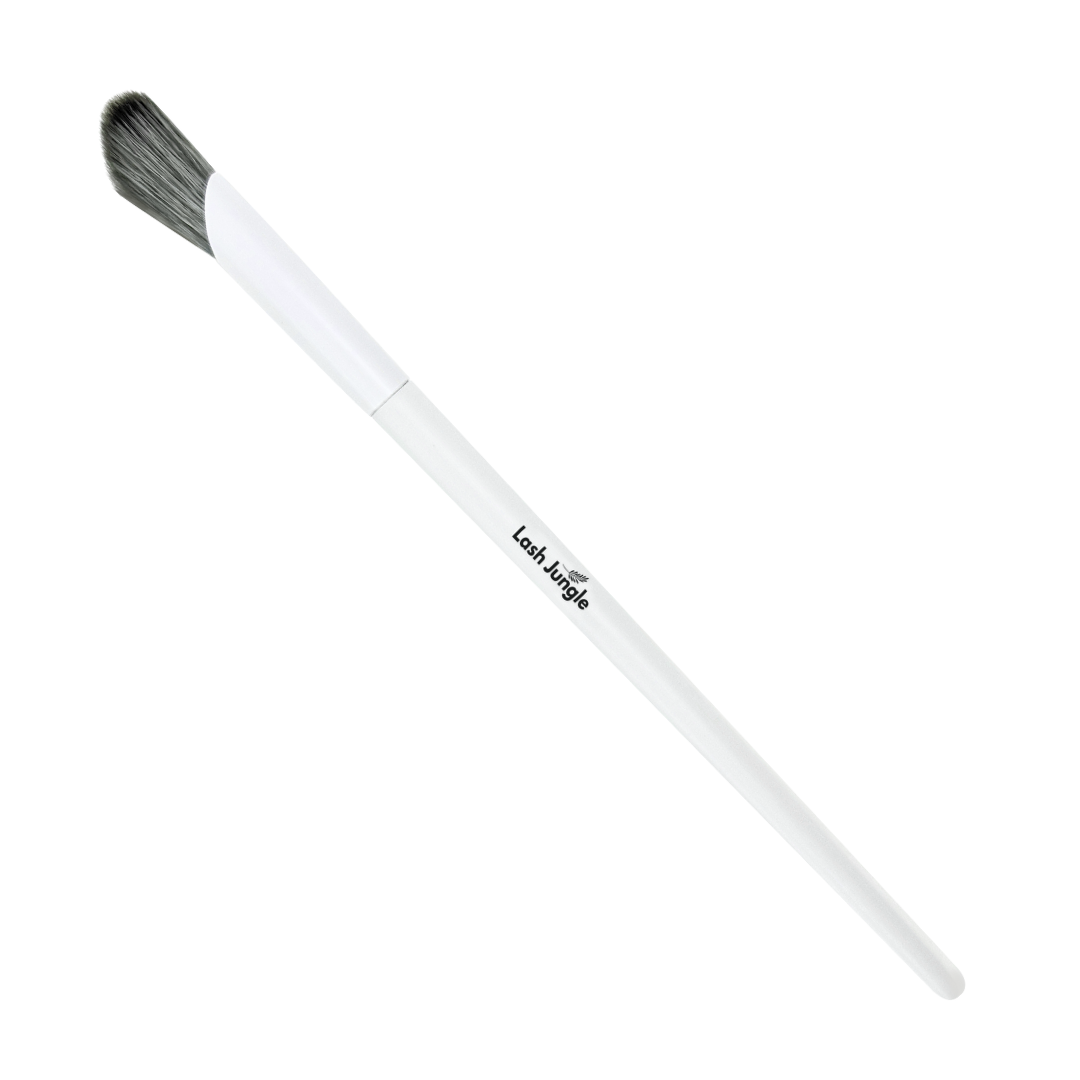
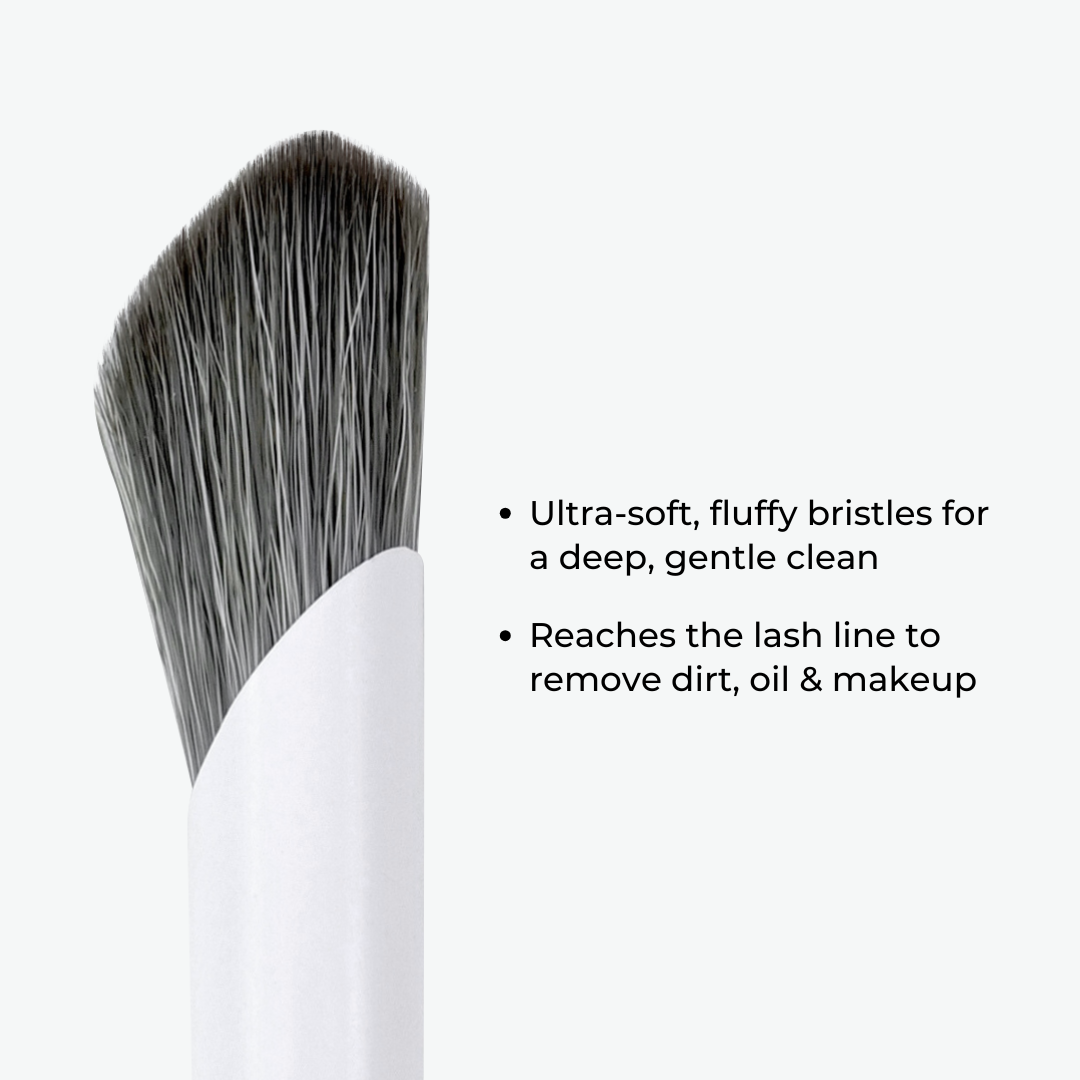 Premium Lash Cleansing BrushPremium Lash Cleansing Brush
- Regular price
-
$8.00 USD - Regular price
-
- Sale price
-
$8.00 USD
-

 Eyelash Growth Serum | AlbaEyelash Growth Serum | Alba
- Regular price
-
$1.00 USD $37.00 USD - Regular price
-
- Sale price
-
$1.00 USD $37.00 USD
-
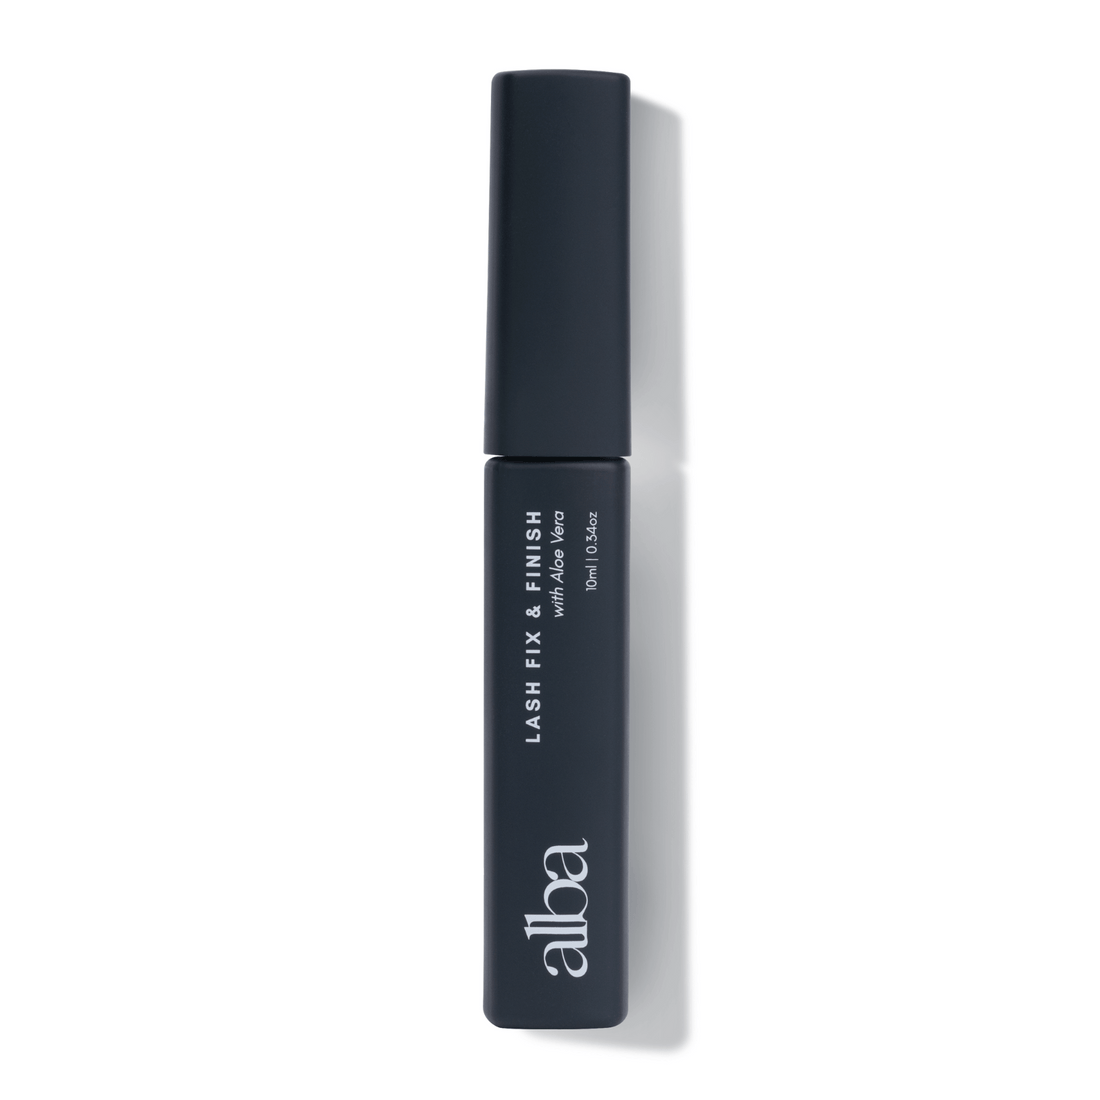
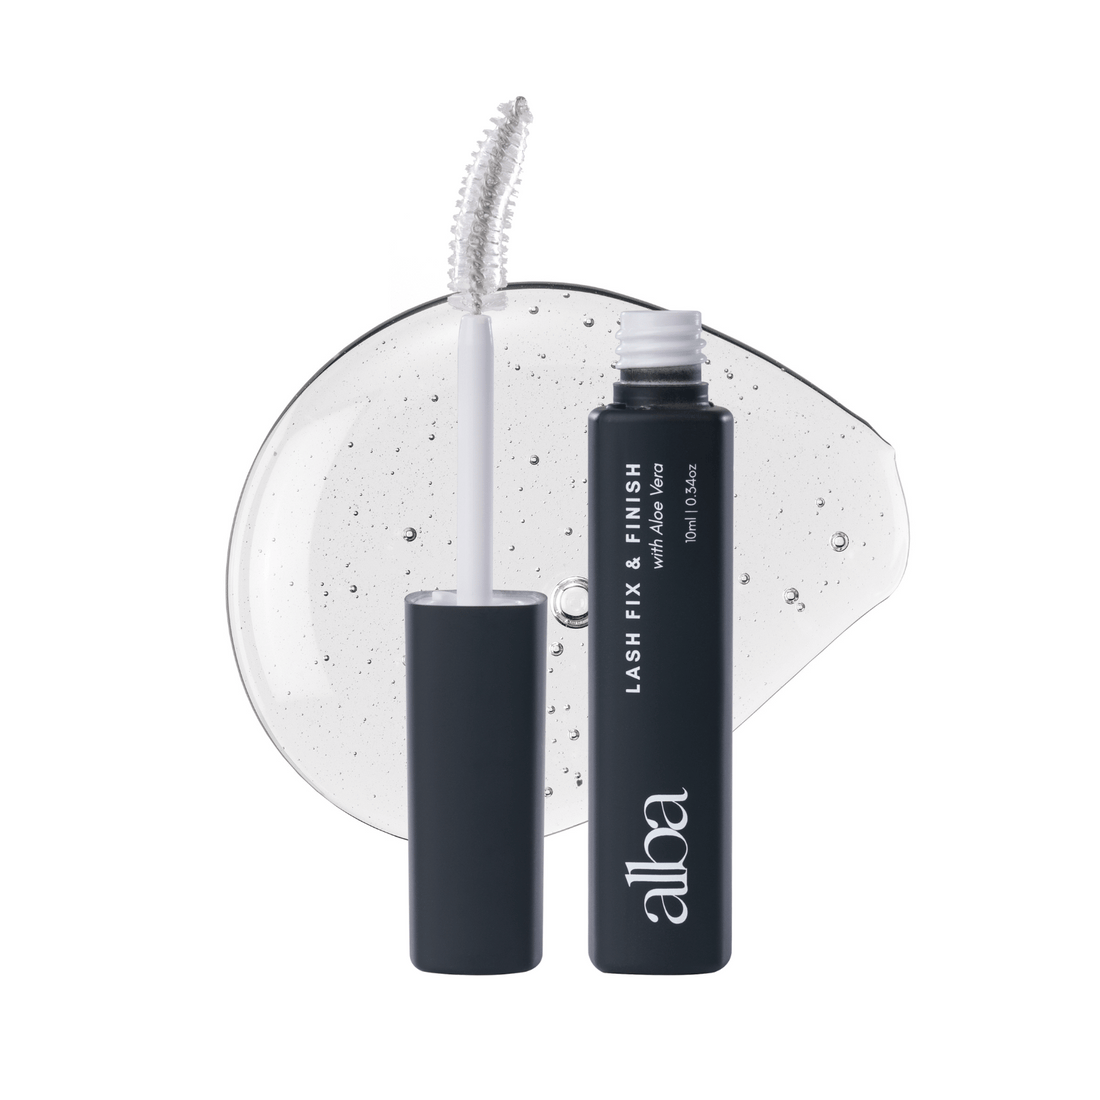 Fix & Finish | AlbaFix & Finish | Alba
- Regular price
-
$1.00 USD $29.00 USD - Regular price
-
- Sale price
-
$1.00 USD $29.00 USD


Korean Lash Lift Masterclass
- Regular price
-
$0.00 USD - Regular price
-
$0.00 USD - Sale price
-
$0.00 USD


Shop Korean Lash Lift Products
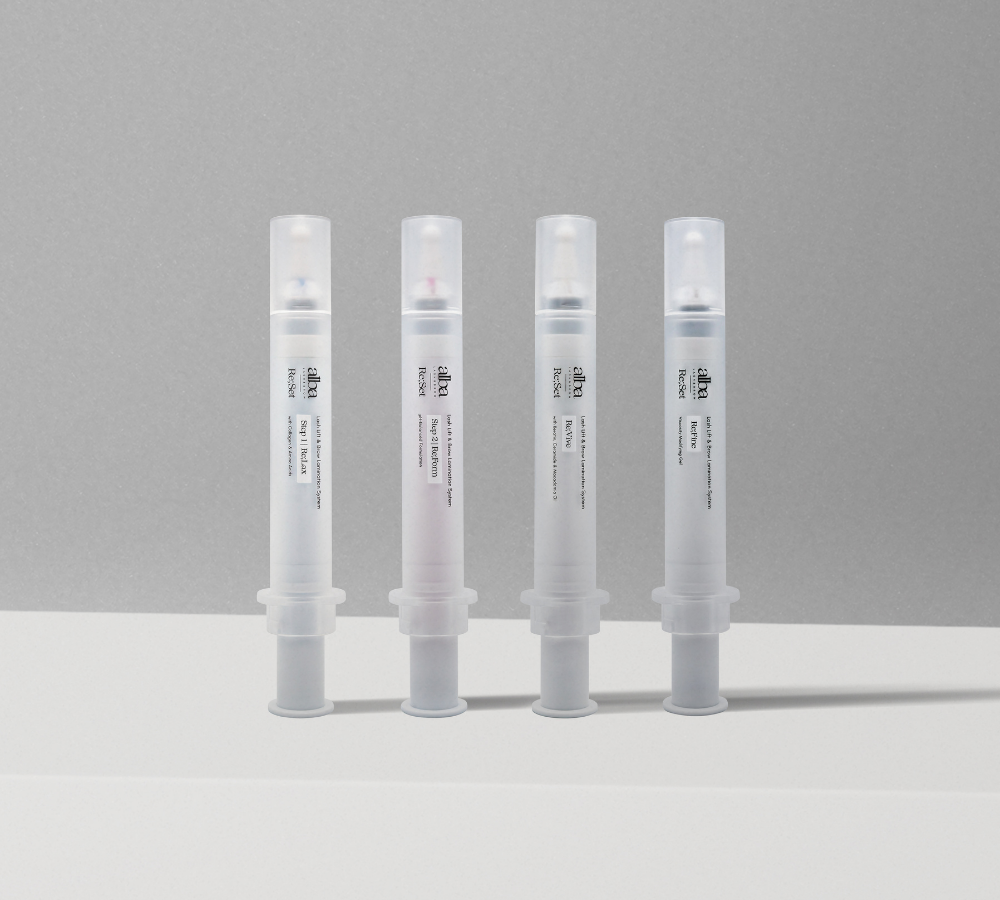
Explore the complete Korean Lash Lift & Brow Lamination collection – including the Re;Set system, plus all the premium quality lash lifting shields, rods and tools designed for smooth and healthy, flawless results.
Our Re;Set system is made in Korea and created specifically for the Korean lash lifting technique.
Whether you're levelling up your services or trying the viral method for the first time, this range will help you achieve consistently beautiful results your clients will love.
Jump into the trend the whole industry is talking about with the Korean Lash Lift Collection.
Korean Lash Lift FAQs
What Is a Korean Lash Lift?
A Korean Lash Lift originated in South Korea and uses an advanced lifting technique. While it’s not strictly necessary, this method is well known for avoiding traditional lifting glue or balm.
The process begins by softening the lashes with Step 1 on a flat shield without using glue. To help the lashes stay in place during softening, Step 1 is often mixed with a thickening powder or a viscosity-modifying gel, giving it a stickier texture.
Once the lashes have softened and become flexible, the steps are:
- Remove Step 1 cream completely
- Switch from the flat shield to your 'curl lifting shield'
- Wrap the softened lashes neatly onto the curl shield, keeping them straight as poossible
- Apply Step 2 cream to set the curl
Why Is the Korean Method Better Than the Traditional Method?
1. Easier Lash Wrapping & Less Damage to Lashes
With the traditional method, once glue is applied, any adjustments often tug or pull on the lashes, increasing the risk of stress and damage.
With the Korean method, Step 1 cream is applied first without using glue. This softens the lashes, making even thick, coarse lashes far more flexible and much easier to wrap onto the shield. As a result, wrapping is quicker, smoother, and requires far less force.
In many cases, there’s no need to use glue or glue balm at all, especially when a hydrating cream such as Re;Vive is used as a replacement.
2. A completely different finish
Korean lash lifts raise the lashes right from the very base, creating maximum visible length and a more dramatic lift.
The traditional method can’t always reach the root due to the curl shield blocking visibility, often leaving a small gap. Korean flat shields eliminate that issue.
For Korean lash lifts, should I only use cysteamine-based products?
No! Most popular Korean lash artists use TGA-based formulas. And yes, it’s perfectly fine to process the entire lash with TGA-based products — as long as you control the cream placement monitor the lashes carefully throughout the treatment. Don’t rely solely on the recommended timing guide; always check how the lashes are responding.
Is the Korean lash lift not suitable for weak natural lashes?
Not at all! Many Korean clients have fine or weak natural lashes. Again, the key is to control how much cream you use, manage your timing carefully, and check lash flexibility as you go. That’s what ensures safe and beautiful results.
How Do I Know When Step 1 (Softening Cream) Is Ready to Remove?
Watch for these indicators:
- The lashes appear less shiny with minimal light reflection.
- The colour becomes lighter, slightly brownish.
- When gently bent with tweezers, the lashes form a V shape, not a U.
- When moved at the base, the lashes stay in place rather than springing back.
- Once wrapped onto the shield, no lashes pop off.
These signals matter more than the suggested timing — always check in real time.
Why should I offer Korean lash lifts?
Simply put — because you’ll achieve more dramatic, visible results compared to traditional lash lifts. While the Korean method may seem complicated at first (with more steps to follow), once you’re familiar with it, you’ll find it’s actually quicker, easier, and produces healthier results.
Do I Have to Use Cling Film for Step 1 for Korean Lash Lift?
It’s not mandatory but highly recommended, especially for medium to thick lashes. Cling film prevents air exposure, enhances product absorption, and ensures even processing. It also keeps the solution from drying out, improving overall results.
What’s the difference between “Korean”and “Glueless” lash lifts?
n the Glueless method, you apply Step 1 cream directly onto the natural lashes while they’re laid on the eye pads, then apply Step 2 cream on the shield.
On the other hand, the “Korean” lash lift is known for using a flat shield and lifting all lashes onto the shield first.
You can even combine both techniques, this works especially well for clients with very thick or coarse lashes.
Am I not supposed to use lifting glue or balm for Korean lash lifts?
Not necessarily! While many Korean lash artists prefer using thickening powder, plenty of others still choose to use lifting glue or balm — and that’s perfectly fine.
Especially before applying Step 2, you can use glue or balm to help secure the lashes onto the shield for perfect placement.
However, if you notice that some lashes are falling off the shield before Step 2, that usually means the lashes weren’tfully softened yet during Step 1. In that case, simply reapply the Step 1 cream and leave it on a little longer.
What Do I Do When Korean Lash Lift Results Are Underwhelming or the Curl Turns Out Uneven?
- Incorrect Rod or Shield Size: Using a lash lift rod or shield too large for the natural lash length can lead to minimal lift. Opt for smaller sizes for shorter lashes to create a dramatic curl.
- Shield or Lash Placement Issues: Ensure the shield is attached close to the lash line, and lashes are securely and tightly wrapped on the shield, straight, separated, and evenly spaced without crisscrossing.
- Under-Processing: Leaving the lifting or setting solution on for too short a time can result in an underwhelming lift. Follow the recommended timing guidelines, adjusting slightly for thicker or finer lashes as needed.
- Incorrect Application of Solutions: Solutions must be applied evenly, fully covering the lashes from root to tip.
- Excess Glue or Glue Balm: Using too much lash lifting adhesive can create a barrier, blocking the solution's performance. Apply just enough and smooth it out thinly with an applicator. You can use cling film or a lash compensator to prevent the baby lashes from falling off the shield, instead of applying more glue.
- Uneven Eye Shape: Clients may naturally have different eye shapes or lash growth patterns. Use different shield sizes or adjust timing to compensate.
What to Do If Lashes Become Over-Processed?
Over-processed lashes can happen to any lash artist, even with experience. The key is knowing how to recognise it early, prevent it, and correct it safely.
How to Tell If Lashes Are Over-Processed
Lashes may be over-processed if you notice:
- Lashes curling too tightly
- Tips curling back and touching the eyelid
- Lashes looking thin and weak
This usually means Step 1 cream was left on for too long.
Why Over-Processing Happens
1. Relying Only on Timing Guides
Timing charts are a guide, not a rule. Every client’s lashes are different.
Always perform a flex check instead of relying solely on recommended times.
2. Natural Lash Differences
- Some lashes look fine but are actually very healthy and stubborn
- Some lashes look thick but may be low porosity and process very quickly
- Lashes that were lifted recently may appear strong but are already damaged. In these cases, Step 1 must be left on for a much shorter time.
3. Lash Tips Process Faster
Lash tips are naturally thinner than the base, so they soften much faster.
Over-processing almost always happens at the tips first.
How to Prevent Over-Processing
Apply Step 1 Strategically
- Use more product at the base
- Use very little to almost no product on the tips
- For very fine tips, lightly brushing over them is enough
A thicker layer of step 1 cream processes faster and stronger, so control matters.
Wipe the Tips Early
Wipe Step 1 off the tips earlier than the base.
Once wiped, apply Re;Vive cream to:
- Rebalance the pH quickly
- Stop the softening process
- Protect the fragile tips
What to Do If Lashes Are Already Over-Processed
If the client would like the lashes re-done, it can be done safely with care.
Re-Lifting Over-Processed Lashes
- Apply Step 1 sparingly
- Start checking softness from around the 2-minute mark
- Use a brush to gently touch the lashes and assess flexibility
- Apply little to no Step 1 on the tips, just light brushing
As soon as the lashes feel soft:
- Wipe immediately
- Wrap lashes onto the shield
- Proceed with Step 2 using the minimum processing time
Extra Care at the End
- Leave Re;Vive on separately for around 5 minutes for extra hydration and nourishment
- Use a much larger lifting shield to avoid excessive curl
Aftercare Recommendations for Clients
- Recommend a lash growth serum to support faster, healthier regrowth
- Advise the client to be as gentle as possible with their lashes
- Avoid rubbing, excessive heat, or harsh cleansing
What is the “flex check” and why is it important in Korean lash lift?
The flex check is the step where you confirm the lashes are properly softened during Step 1 and ready to move forward.
If you skip it, you risk:
- Under-processing (results look more like a natural lift, not fully lifted)
- Over-processing (lashes feel weak, tips can over-curl or look fragile)
Instead of only following a timing guide, flex checking helps you learn how to tell when the lashes are actually “ready.”
It means you can lift confidently without guessing.
It’s hard to attach lashes to the flat shield. What do I do?
One of the biggest challenges lash artists face with thick or stubborn lashes is that they can be so resistant that attaching them to the flat jelly shield feels impossible.
That’s why we recommend using a combination of Glueless + Flat Jelly Shield (Standard Korean method). It’s just one extra step, but it makes the whole process so much easier.
How to do it (Hybrid Method):
- Apply Step 1 cream directly onto the natural lashes while they are resting on the eye pads
- Cover lashes with cling wrap
- Around the 3–5 minute mark, lift the wrap and wipe Step 1 off the tips to prevent over-processing
- After around 2/3 of the full Step 1 processing time, wipe Step 1 off the entire lash
- Apply the Flat Jelly Shield, then attach the lashes (they’ll be much softer, so wrapping becomes easier)
- Check if the base is popping off
- If most lashes are staying down, you may only need 1–2 extra minutes
- If many lashes are popping off, add a few more minutes, applying Step 1 only to the base area - Once softening is complete, wipe everything off and switch from the flat shield to the curl shield
- Wrap lashes as normal, then apply Step 2 as usual
Do you process the entire lash for Korean lash lift, even the lash tips?
In Korean lash lift, Step 1 is usually applied to the entire lash, unlike the traditional method where you typically apply up to 70–80% of the lash length.
Because Korean technique processes the full lash, the result often looks:
- more dramatic
- cleaner and more even
However, you must prevent over-processing and dryness, especially at the tips, which are naturally finer and more delicate.
What to do:
- Keep product mainly on the base + mid area
- At the 3–5 minute mark, wipe Step 1 off the tips
- Apply a thinner layer on the tips (a thick layer can process too fast)
To fully stop processing and support lash health, apply Alba Re;Vive cream after wiping Step 1 off. It helps restore pH balance and stops processing instantly. This is a must-have for healthy Korean lash lifts.
Why is it so hard to wrap lashes onto the shield? What do I do?
If you’re trying to wrap lashes onto the shield and it feels difficult even with Re;Vive cream, and you start feeling like you need glue, don’t just push through.
This is usually a clear sign that the lashes are not softened enough yet.
✅ The fix:
Go back and apply Step 1 again for a little more processing time, then re-check with a flex check before continuing.
Do I need to use a larger shield for Korean lash lift?
Yes. With Korean lash lifts, you’re processing the entire lash from base to tip, so you’ll usually need to go one shield size larger than your “usual” size.
Always do a dry shield check first to confirm sizing.
General rule of thumb:
- Lashes should reach around 60%–70% up the shield
(closer to 70% if you want a tighter curl) - If lashes extend beyond the body of the shield, the shield is too small
(higher risk of over-curl + tips touching the eyelid)
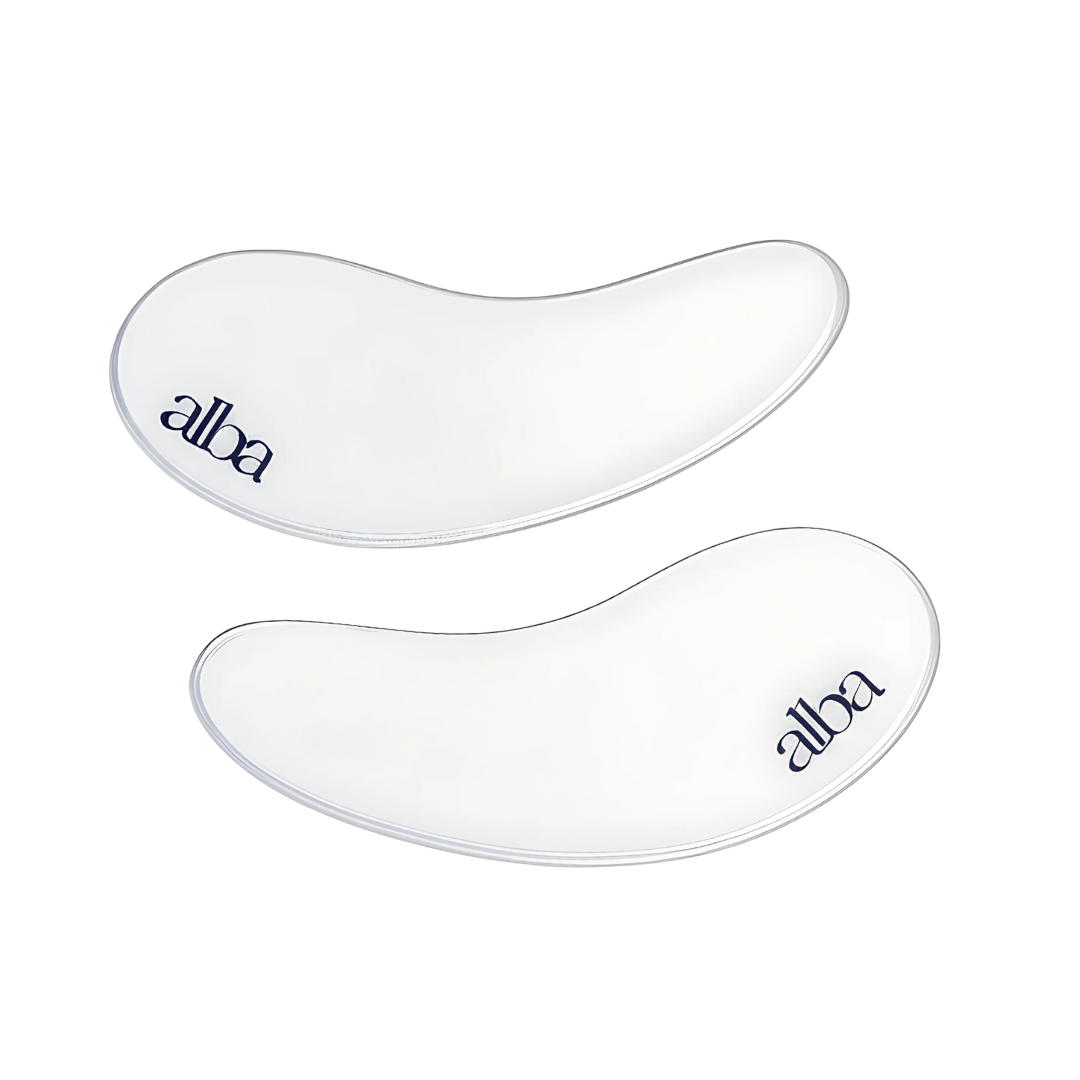
Important exception: Some shields (like the Alba V Curl Shield) are designed differently.
For these, lashes should sit around 40%–50% max, so always follow the shield-specific instructions.
Any tips for hooded or deep-set eyes?
For hooded or deep-set eyes (especially with a stronger brow bone):
- Choose a shield with a gentle base curve (like an Alba Expert Shield)
- Avoid overly sharp or aggressive base curves
If the base curve is too strong, lashes can get squished, look uneven, and feel uncomfortable for the client.
To prevent lash tips touching the eyelid:
- Go slightly larger
- Consider not processing the very tips, so they stay straighter instead of curling inward
Want to learn more? Check out our Ultimate Guide to Lash Lift Shields blog.
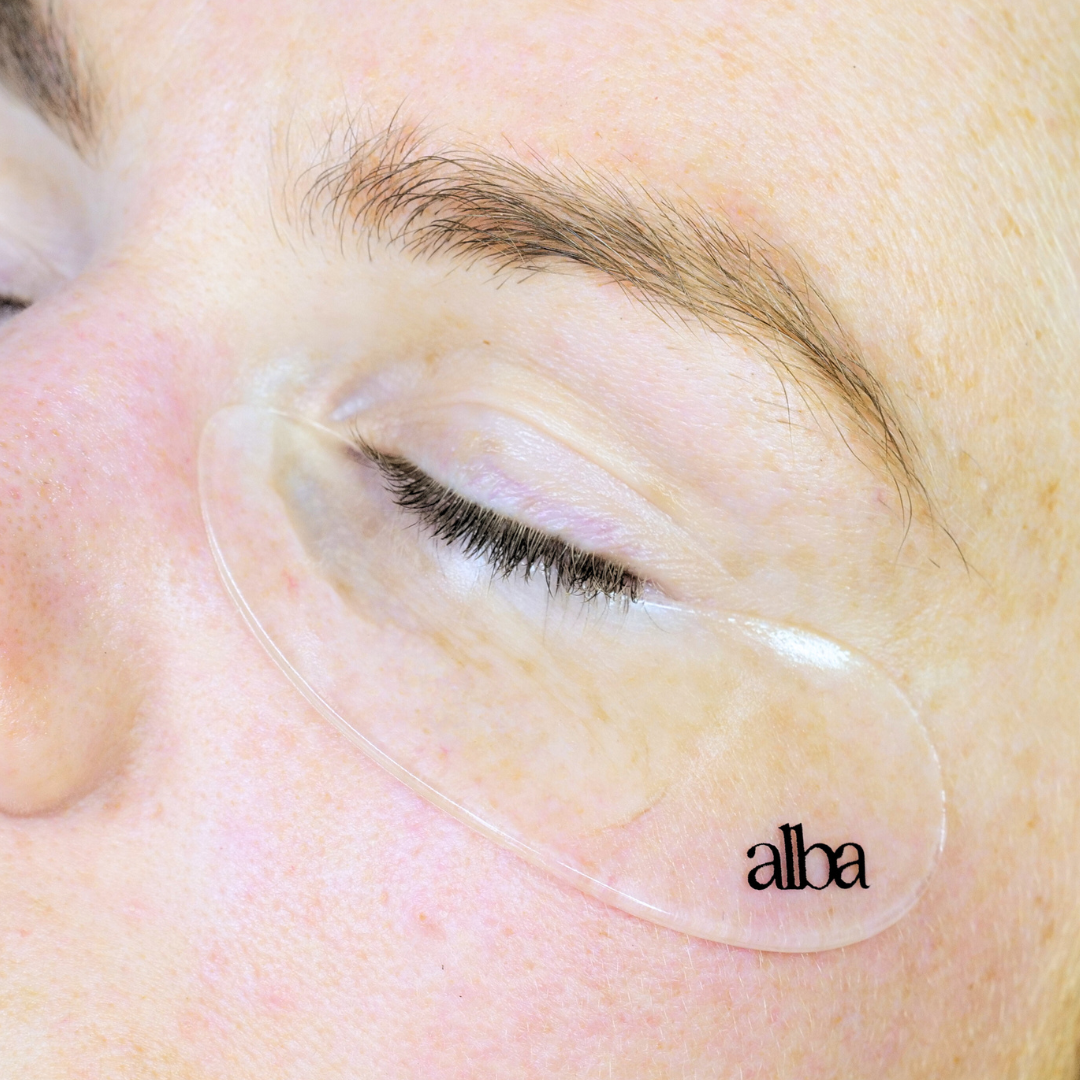
Why do I need to tape the eyelid for Korean lash lift?
Taping the eyelid helps expose the lash base and straighten the waterline, especially before applying Step 1.
This step is a must for clients with extra skin or fullness around the eyelid, because Korean lash lifts focus on processing right down at the base for maximum lift and length.
We recommend Lash Jungle sensitive silicone tape for eyelid taping, as they are super gentle and provides amazing hold.
How can I tell lashes are fully softened through the flat jelly shield?
Step 1 is complete when the lashes are 100% softened.
A clear sign: the lashes will stay flat and held down on the jelly shield, instead of:
- bouncing back
- lifting
- popping off the shield
Once they’re ready, remove Step 1 cream straight away, remove the flat shield, then switch to your curling shield for wrapping and Step 2.
Any tips for lash wrapping in Korean lash lift?
With Korean lash lifts, you don’t need glue or balm for wrapping because the lashes are fully softened and will stick using the remaining Step 1 tackiness.
For wrapping:
- Apply a thin, even layer of Re;Vive Cream
- Wrap and align lashes straight using a micro brush or comb
Re;Vive helps keep lashes hydrated while providing enough slip and control, so you don’t need a separate adhesive.
Important:
If lashes won’t stay in place and wrapping feels impossible, it usually means Step 1 wasn’t fully completed.
No stress, just apply Step 1 again (especially focusing on the base) and continue processing.
Make sure lashes look clean and perfectly aligned:
- evenly spaced
- fully separated
- no criss-crossing
- inner corners and baby lashes secured
Reminder: What you see on the shield is what you’ll get in the final result, so take your time here.
What is a flipped waterline, and how do I prevent it?
A flipped waterline happens when the lid/waterline becomes exposed during wrapping, which can lead to an uneven or underwhelming lift.
To prevent it:
- Gently hold the shield in place with your other hand
- Don’t wrap lashes too tightly against the shield (tight wrapping can expose the waterline)
Always use a lash mirror to check that everything is wrapped neatly with no waterline showing.
How long does a Korean lash lift last?
A standard lash lift usually lasts around 6 weeks, depending on your natural lash growth cycle. A Korean lash lift can often last even longer, up to 8 weeks.
Why? Because the Korean technique lifts lashes right from the very base, rather than leaving a small gap at the root like traditional methods sometimes do due to limited visibility.
Why is my Step 1 cream not working?
Reason #1: Too much viscosity gel / powder
This is VERY common with Korean lash lift.
If you use more than the recommended amount, the active ingredients become diluted, which slows down the softening process.
For example, with Alba Re;Set System:
- 80% Step 1 cream + 20% Re;Fine viscosity modifying gel
Reason #2: Cream placement
Step 1 must be applied as close as possible to the root without touching the skin.
If there’s a gap, the strongest part of the lash won’t soften properly.
This is especially common in clients with:
- Heavy eyelids
- Monolids
- Hooded eyes
- Sagging skin
Tape the eyelid slightly to expose the true base.
Reason #3: Too much glue or balm
More glue does NOT mean better hold.
It creates a barrier and step 1 can’t penetrate properly.
Result = slow processing.
Use the thinnest layer possible.
Reason #4: Not using cling wrap
Cling wrap helps retain warmth and improve penetration.
This helps Step 1 process faster and more evenly.
We use cling wrap in all Korean lash lift techniques for this reason. It makes a big difference.
Reason #5: Product condition & storage
Check your Step 1 cream:
- Is it expired?
- Do you close the lid tightly after use?
- Is it stored away from heat and sunlight?
Exposure to air / heat can weaken the product over time.
Reason #6: Poor lash prep
Check if the client’s lashes were clean and free from excess oil, dust, or makeup residue. These can act as a barrier and interfere with proper processing.
How long does a Korean lash lift take?
A professional lash lift appointment usually takes between 40 to 80 minutes. Some artists work very quickly, while others prefer to work at a slower, more precise pace. If you’re adding tint or additional nourishing steps, it may take slightly longer.
Here’s what happens during the appointment:
Your lash artist will assess:
• Lash length
• Lash thickness and health
• Eye shape
• Your desired result
This helps them select the correct lifting shield size and technique, and decide on the approximate timing for both Step 1 and Step 2.
Korean lash lift method
Korean lash lift is a newer, more
advanced technique.
- Step 1 cream is applied directly onto the lashes without using glue or glue
balm - The relaxed lashes are then wrapped onto the shield
- Step 2 is applied to neutralise the lashes and lock in the new shape
Korean lash lifts often do not require glue or glue balm, which means the lashes experience less stress during the process. As a result, the final outcome often looks healthier and more natural, while still providing excellent lift.
What are the benefits of getting a lash lift?
A lash lift offers significant benefits, especially for those who prefer a natural beauty look.
Main benefits include:
- Makes lashes look longer without extensions
- Opens up the eyes and creates a more youthful appearance
- Eliminates the need for daily lash curling
- Very low maintenance, even when washing your face
- Longer-lasting compared to lash extensions, which require more frequent maintenance
It’s particularly ideal for clients with straight or downward-growing lashes.
You can achieve a natural, enhanced look rather than a full volume effect, making it perfect for those who prefer subtle improvement.
Most clients find it one of the most convenient beauty treatments available.
Can you do a Korean lash lift at home or should you go to a salon?
We strongly recommend professional treatment. While home kits exist, lash lifts involve chemical
processing very close to the eyes. Incorrect use can lead to:
- Lash damage
- Over-processing
- Poor results
- Eye irritation
Professional lash artists customise timing and technique based on your lash type, which is essential for safe and beautiful results.
Once lashes are severely damaged, it can take several months for them to fully recover. Some artists offer lash reversal treatments, but prevention is always best.
Using lash growth or hydrating serums can help improve lash appearance during recovery.
Can you wear mascara after a Korean lash lift?
Yes, you can wear makeup including mascara.
However:
- Avoid mascara for the first 24 hours
- Avoid waterproof mascara long-term, as removal can cause damage
Clear nourishing serums such as Fix and Finish Serum can enhance shine and definition while keeping lashes hydrated.
They also create a glossy, defined look without needing mascara, and are very easy to remove with water.
How often can you get a Korean lash lift?
It’s recommended to wait at least 6 to 8 weeks between treatments. This allows new lashes to grow in and prevents
over-processing.
Most clients maintain their lash lift every 2 months.
Proper aftercare and nourishing serums can help maintain results longer.
Korean Lash lift vs extensions: Which is better for you?
Both treatments enhance your lashes, but in different ways.
Korean lash lift is best if you want:
- Natural, subtle result
- Low maintenance
- Longer time between appointments
Lash extensions are best if you want:
- More dramatic result
- Increased volume and length
- Fuller, more defined lashes
Ultimately, it depends on your personal preference and desired look.